

Earlier this year Mark's parents took us on an epic week-long adventure to California. We hit Disney land for a few days as well as Lego Land. Growing up with my big family and especially 4 rowdy, little boys on the end, my mom always dressed the boys in matching shirts when we went on trips. We traveled a lot; being a big family didn't keep us from getting out and going places. I will admit that hitting such people-populated places with four young children of my own made me a bit jittery. I shared my mom's solution of matching tees with Mark and added my own version of it. I planned to purchase matching obnoxious brightly-colored tees for the kids so they were easier to keep track of. "Why not make the adults easier to keep track of too," Mark asked. PERFECT! So, I rolled out these fun tees! It wasn't as fun towards the end because I made 6 days worth for 8 people! :p It was well worth the time and effort in the end.
I wasn't finding what I wanted for the Lego Land tees, so I came up with my own by splicing a few things together. I am not super crafty...if I can make these, I promise anybody else can too! You don't have to be headed to Lego Land to surprise your little boy (or your really big boy AKA Lego-loving hubby) :) with this fun tee...

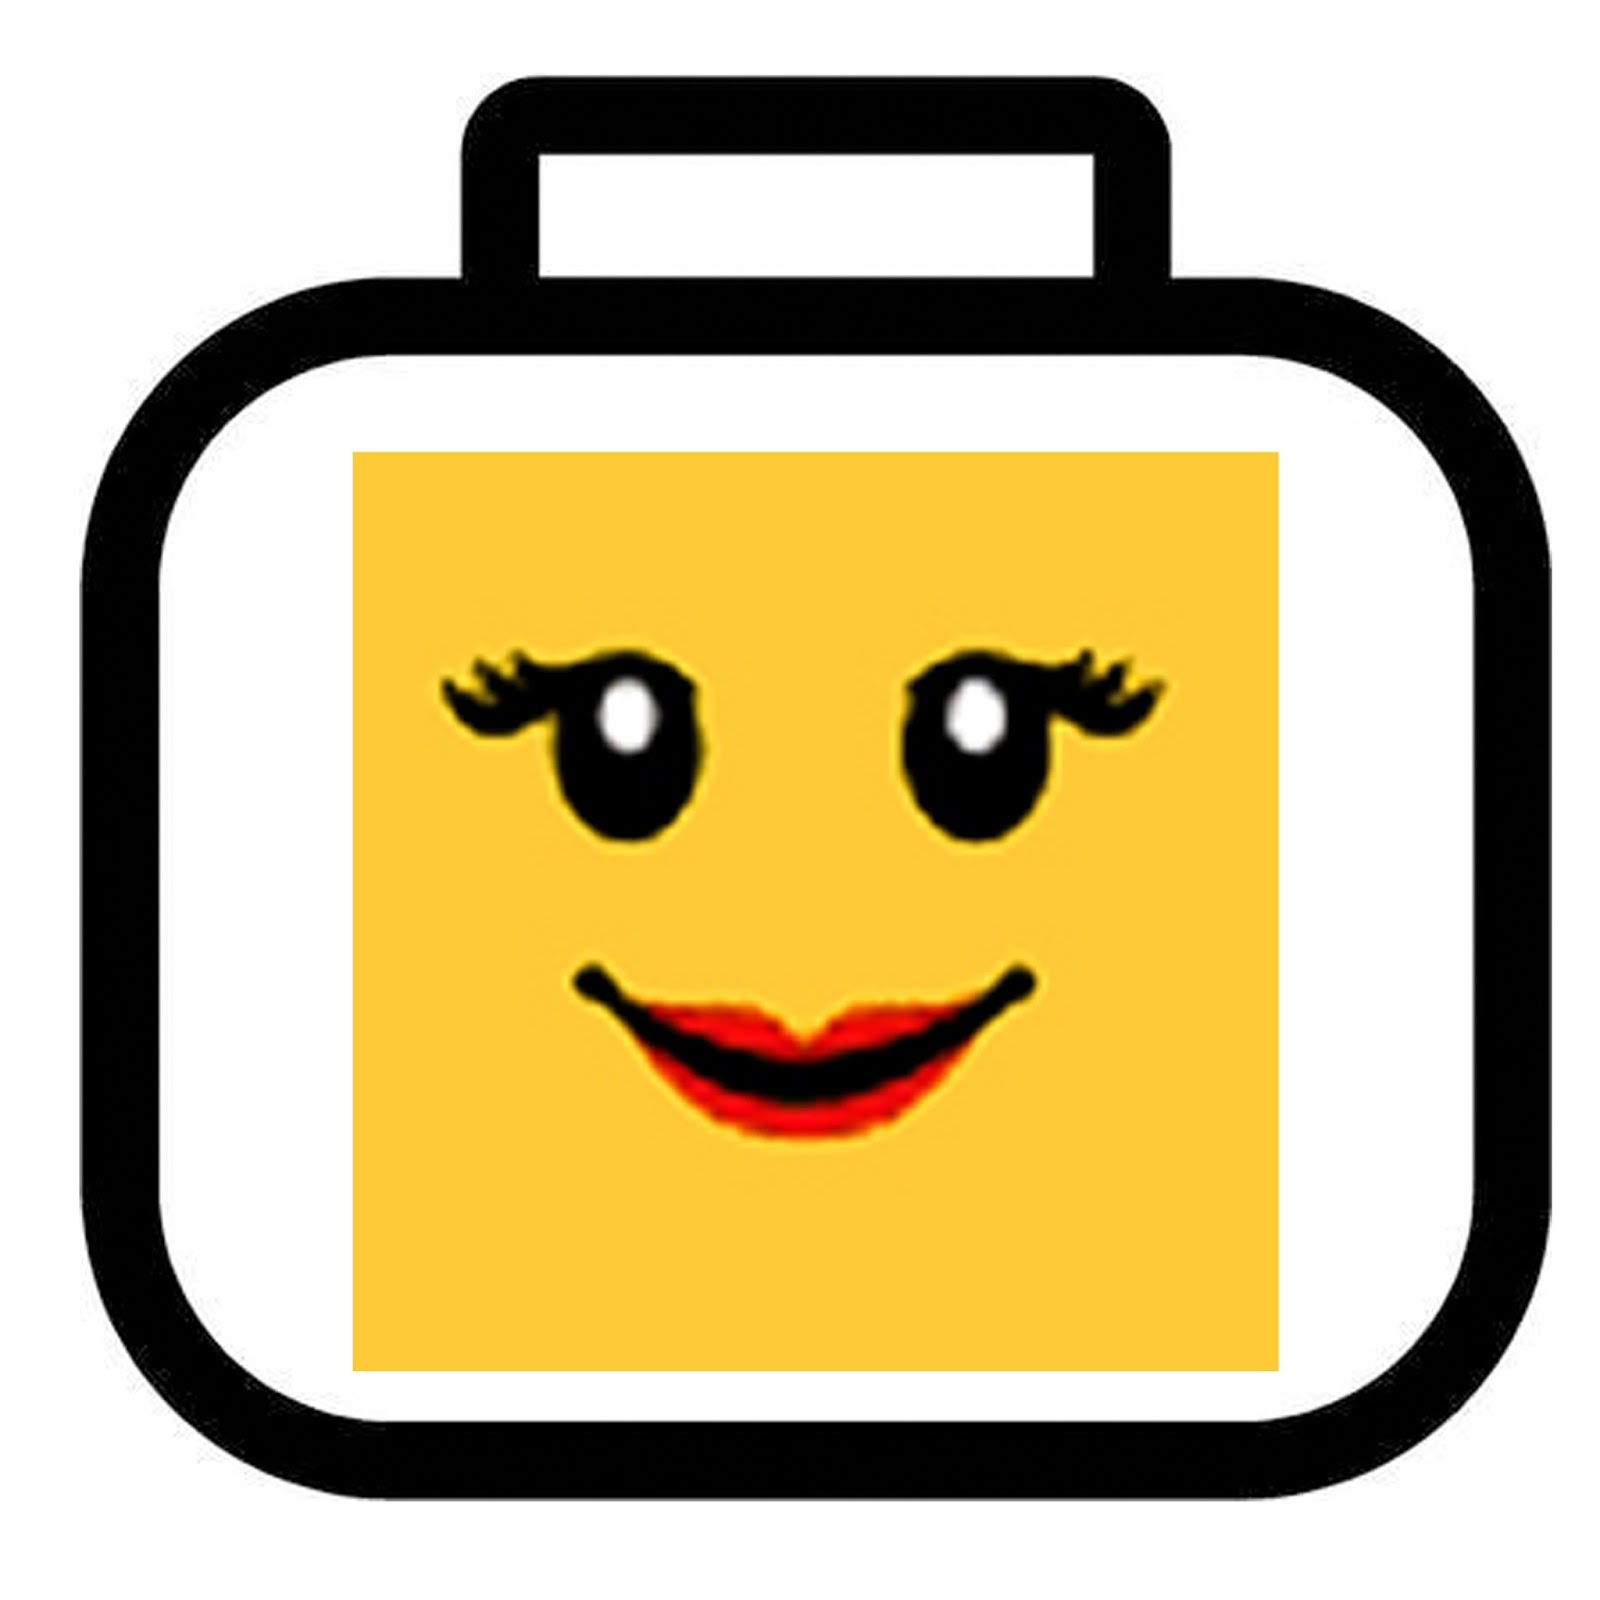
Let me explain how I made these and then check out the very bottom of this post for some face options to mix and match.
1. Gather the following supplies:
~Blank yellow tee(s). I purchased mine online HERE for both kids and adults. The smallest size for kids is 4/5T though (FYI, hence the lighter shade of yellow in the picture just above these words).


~Fabric paint and brush: Black is essiential! Red for girl lips and white if you want white dots for the eyes.
~Iron
~X-acto knife
~Scraps of cardboard
2. Figure out your design (see the bottom of this post for what we came up with). I printed them on on regular paper in black and white with my home computer. You can mix and match eyes with lips...the options are endless. Mark and his parents all wear glasses, so their Lego tees needed glasses too. Mark had a beard, so his tee does too, etc. Have fun!
 |
| This picture is of me tracing some of our Disney Land tees...just use your imagination. :) |
3. Trace your design. You will notice that there are two textures to the freezer paper. One size is plastic-y. This is the side you want closest to your fabric because it will melt while you iron and hold firm to the tee to create a stencil. The other side is just like butcher paper. The paper side is where you will draw your tracing.
 |
| Instead of Mickey ears you will have Lego faces. If you are doing more than one at once, be sure to leave space between the design. You want to cover a good area around your design to prevent dripping fabric paint on undesired places on the tee! |
4. Cut out your design. I used my X-acto knife to start a hole around the outline of the Lego head and then my scissors to cut the rest, so it was faster. The key to remember while cutting is anything on the tee that is covered in freezer paper will remain yellow.
 |
| Note that I taped the little rectangle on the side (see it on the right upper corner of the biggest piece?). You will need to save this or else you won't have a proper Lego shape. It gives it the little bump at the top of the head. |

So after I cut with the scissors, I was left with 3 pieces to keep at this point: the outline piece, the tiny rectangle, (see the previous picture for both), and the face. I want the face to stay yellow, so I need to use my knife to cut out the details of the eyes and mouth.
 |
| If you are doing girl lips, this is as far as you want to cut at this point. |
 |
| Then go back, but notice how I'm not starting right at the corner to finish these. Do that x 4 corners. I am going to paint the black first and I want a nice clean edge for the black smile line. If I loosen up the part that I will paint red then I can just cut/tear the rest of the freezer paper off once the black is dry to have the proper shape for the red. |
 |
| Again, end just before the corner. (Don't go all the way to the edge of the traced line). |
 |
| If you are adding either glasses or sun glasses, you will have extra pieces. See how it splits the face piece in half? If you have glasses, you will also need to save the outlines inside to make eyes (again, remember anything covered in freezer paper will stay yellow, so if you want to have eyes inside of the glasses, you will need to trace and save those pieces). |

5. Tuck a flat piece of cardboard into your tee. This is important because it will prevent paint from seeping through the back side of your tee.
 |
| Position the outline on your tee at the desired place. I found it easiest to start with the outline of the head. |
6. Start ironing! Turn it on a high-heat setting and press down hard. You want to iron like it's nobody's business, paying particular attention to any edges or unusual shapes. Any freezer paper that is not fully ironed down will allow paint to seep through. The trick to sharp edges is ironing carefully and entirely.
 |
| Second, I ironed on the little rectangle. This way I can line it up where it needs to go before I add in the face. |
 |
| I found it best to line up the two face pieces for tees with glasses first, but to only iron on one at a time. |

 |
| For tees without glasses then go ahead and iron on the face piece. |
 |
| This tee is all ironed. |

7. Start painting. All black tees are a piece of cake. I found sponging it on looked better because the fabric saturated easier.
 |
| This is how the tees with girl lips looks after the black paint. |
 |
| Once the black paint is all dried, I used my X-acto knife to peel off the freezer paper for the red lips part. |

 |
| Use the tip of the fabric paint bottle to paint the red. |
 |
| All painted! |
8. Once the paint is all dried, then go ahead and peel off the freezer paper.


Wait at least 24 hours before wearing the tees to allow them enough time to fully dry.


 |
| With a houseful of Lego lovers, these tees have been some of our favorites. Gavin wore it for days in a row after we got home from our trip, but as soon as it was out of the dryer, it was back on him. :) |


No comments:
Post a Comment